Style Guide & Branding
If you don't find what you are looking for please email marketing@ecaring.com with your image requirement needs.
Colors
Primary
Hex #2573F8
RGB 37, 115, 248
CMYK 85, 54, 0, 3
Pantone 2727 C
Hex #102573
RGB 16, 37, 115
CMYK 86, 68, 0, 55
Pantone 662 C
Secondary
Hex #03CEA4
RGB 3, 206, 164
CMYK 99, 0, 20, 19
Pantone 3395 C
Hex #6199FA
RGB 97, 153, 250
CMYK 61, 39, 0, 2
Pantone 284 C
Hex #0845B2
RGB 8, 69, 178
CMYK 96, 61, 0, 30
Pantone 293 C
Hex #FB4D3D
RGB 251, 77, 61
CMYK 0, 69, 76, 2
Pantone 171 C
Hex #EAC435
RGB 234, 196, 53
CMYK 0, 16, 77, 8
Pantone 129 C
Neutral
Hex #C4D9FD
RGB 196, 217, 253
CMYK 23, 14, 0, 1
Pantone 2708 C
Hex #D9E0EB
RGB 217, 224, 235
CMYK 8, 5, 0, 8
Pantone 650 C
Hex #EBF2FF
RGB 235, 242, 255
CMYK 8, 5, 0, 0
Pantone 656 C
Hex #FFFFFF
RGB 255, 255, 255
CMYK 0, 0, 0, 0
Pantone
Stylization
Our typeface is "Poppins"
Poppins is a geometric
sans-serif typeface published by Indian Type Foundry in 2014. It was released as open-source and is available for
free on Google Fonts. Indian Type Foundry describes Poppins as “an internationalist take on the geometric sans genre.” It supports both Latin and Devanagari languages and is available in nine weights with matching italics.
Headings Use
In printed and digital materials use H1-H4 heading levels to maintain clear hierarchies and
create more minimal layout structures. Use
Poppins 500 Medium for H1-H3. Use
Poppins 700 Bold for H4 to maintain line thickness.
H1 Title Example
Font Poppins
Size 60
Weight Bold
Color rgba(16,37,115,1)
H2 Subtitle Example
Font Poppins
Size 48
Weight Bold
Color rgba(16,37,115,1)
H3 header example
Font Poppins
Size 18
Weight Bold
Color rgba(8,69,178,1)
H4 header Example
Font Poppins
Size 18
Weight Normal
0845b2 rgba(8,69,178,1)
Italics
H5 TBD
H6 TBD
Body
Use Poppins 400 Regular with 16px Size font and normal font weight for all body copy.
Branding Images
The blue color of our heart is #2573F8 and the green color of caring is #03CEA4. For more detail on colors look in color section.
Full Logo
Square Logo


Branded Templates
Below are branded document templates you can use for creating your own eCaring branded material. If you are looking for a marketing document and not a DIY template you can find those here.
PRESENTATION TEMPLATES
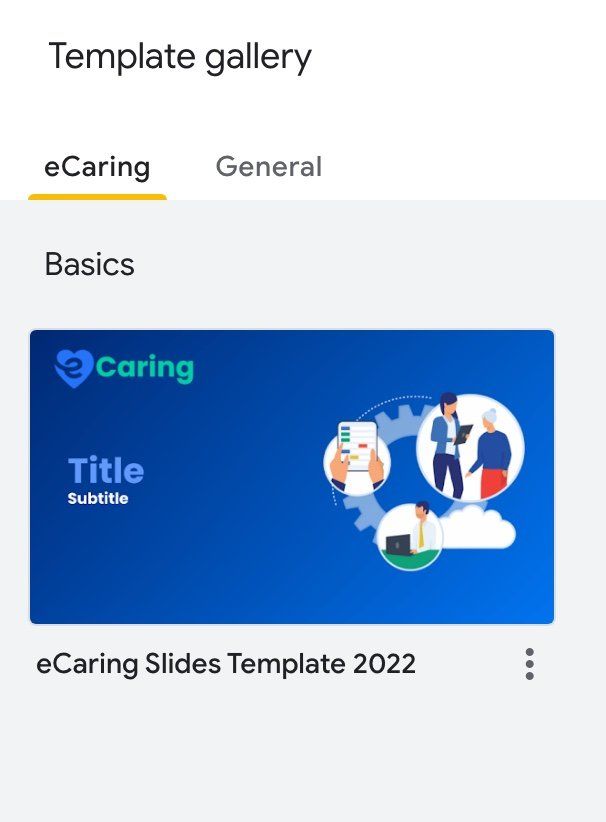
Presentation Templates
Size:
variable
Description: eCaring Presentation templates
Formats:
Created: June 2022
LETTERHEAD

Letterhead
Size:
variable
Description: eCaring Letterhead - make a copy and save your under your personal folder
Formats:
Created: May 2023
email Signature
The following directions will help you add an email signature to your emails.
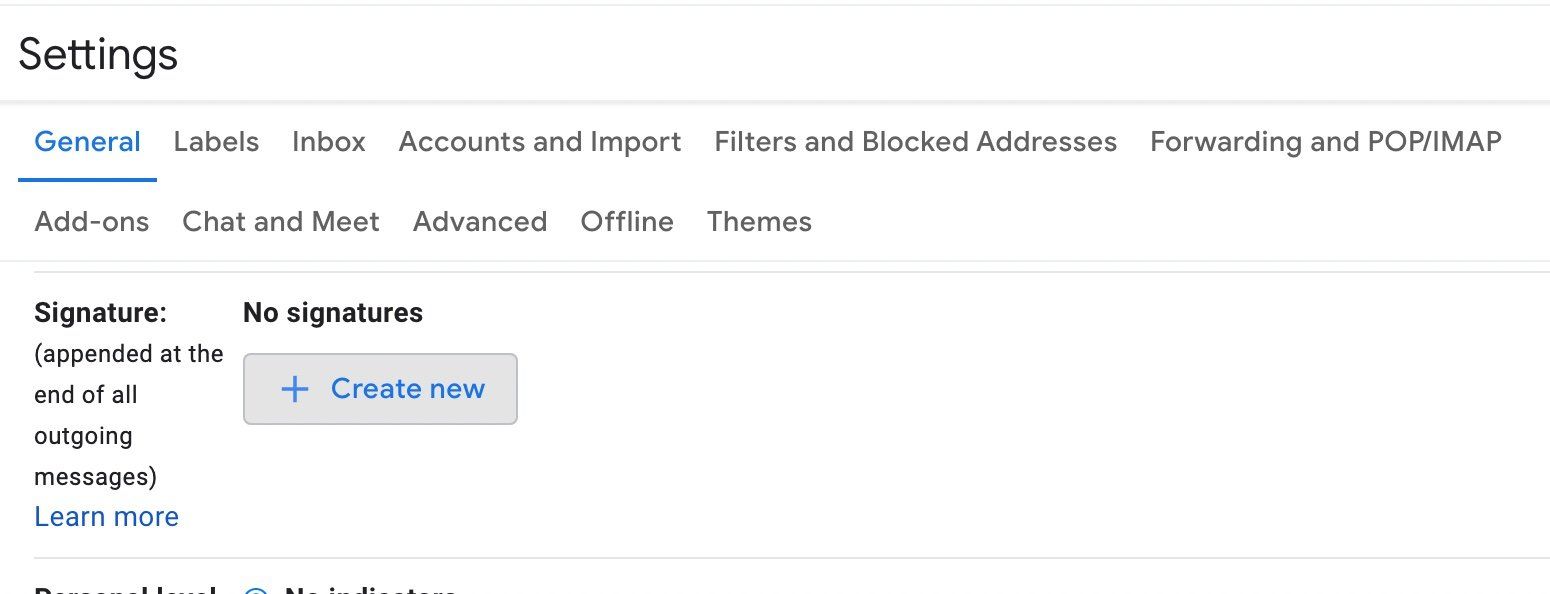
STEP 1:
Open your Google email and click on Settings in the upper right-hand corner.

STEP 2:
At the top of the Quick Settings tab that pops up, find and click on "See all settings"

STEP 3:
Scroll down the long list of settings until you see "Signature"
- Click Create new signature button
- A box will pop up to name the signature - type anything in such as "eCaring" email Signature
- Click Create to save it
STEP 4:
After you have saved the new signature name, a new editing box will appear on the right side
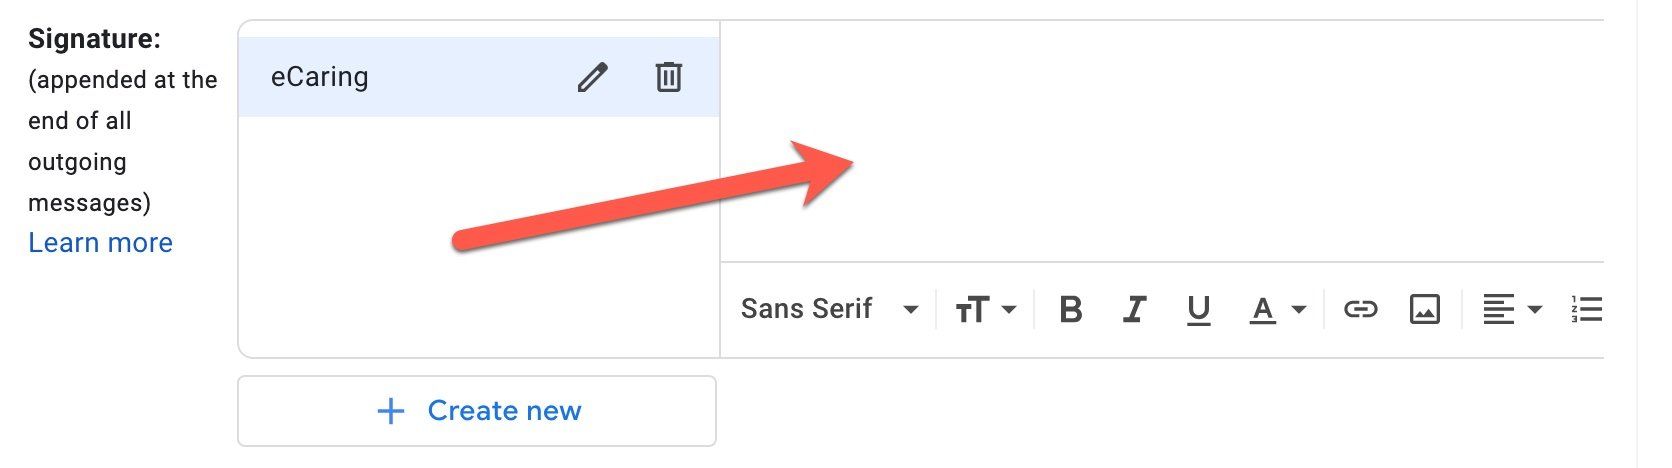
STEP 5:
a) Select/highlight the image AND text below and (right-click) copy the text and image.
b) Paste both into the editing box that appears on the right side of the signature settings area (see step 4).
First Last
Title
email@ecaring.com
+1.718.808.3968
STEP 6:
a) Update/Edit the copied text to your own name, title, email, and phone number
b) If you would like to make your email a hot link so someone can click to email you - highlight your email and click the link image shown at the bottom of the editing area.

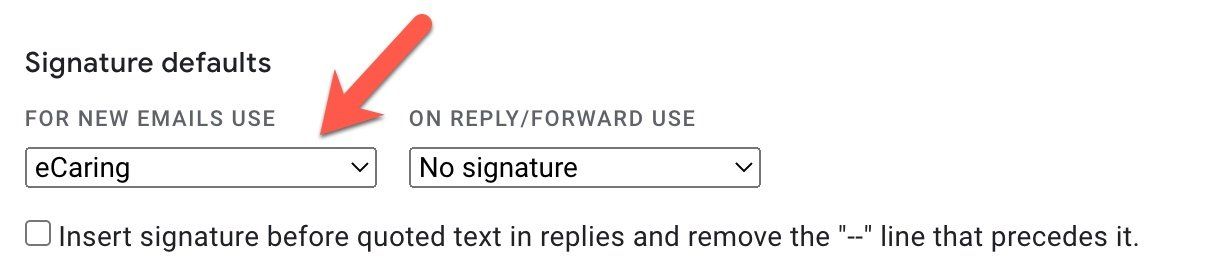
STEP 7:
Next, define when you want your new email signature to show up. We recommend having your email signature show up for all new emails. And "No Signature" on Replies or forwards. The reason for this is if you are in a long back and forth with someone, your email signature will be added each and every time. But it's your call.
STEP 8:
Lastly, Save your changes by scrolling to the bottom of the settings page and clicking Save Changes. Next, test your new signature out by opening and creating a new email. Your new signature should appear and if not, repeat the steps above.